How to Install a WordPress Theme on localhost || wordpress full course
Introduction
WordPress is one of the most widely used CMS in website or blog designing. There are so many themes that can quickly change the whole feel and look of your site in an instant. Setting up WordPress on localhost is indeed an excellent test to experiment your designs, plugins, and functionalities without actually deploying your live site. This tutorial will take you step by step through the process to install a WordPress theme on your local machine or, in simple words, on localhost.
What is Localhost?
Before explaining what “localhost” really is, some few introductory words: Your very own personal computer is what you call your Localhost. That would be even more specifically your local server environment where you might have a WordPress site without the Internet or live servers. Tools such as XAMPP, WAMP, and MAMP allow you to install a web server locally on your computer so you would be running WordPress. Thus, you could develop and test your site on your local machine.
Installation Requirements
To install WordPress and also themes locally you’ll need,
A local server environment-XAMPP, WAMP or MAMP
WordPress downloaded-you can download it from WordPress.org
Theme file-one of the ones in the WordPress theme repository or a paid, custom theme you have bought or downloaded .
Step 1: Setting Up a Local Server Environment
You’ll need to set up a local server on your computer. Surprisingly, this is a pretty realistic hosting environment.
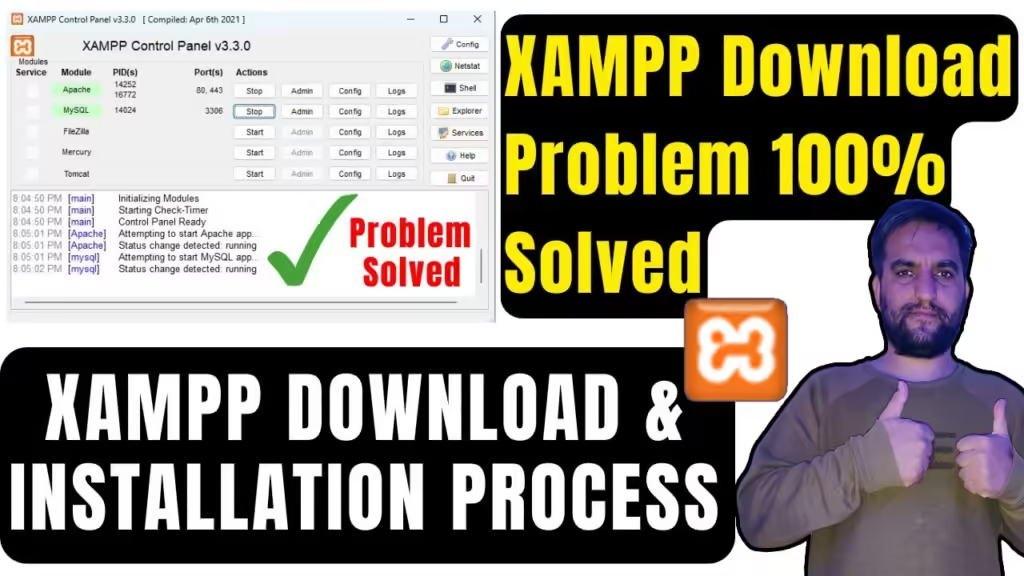
Download XAMPP or MAMP/WAMP from their website
XAMPP: https://www.apachefriends.org/index.html
MAMP: https://www.mamp.info/en/
WAMP: https://www.wampserver.com/
Now you’ve downloaded and installed XAMPP, MAMP or WAMP. Time is due to configure your server and have the Apache web server running as well as MySQL database server up and going.
Step 2: Installing WordPress on Local Server
You’ve just installed your local server. Now it is time to install WordPress in there:
If not downloaded yet, you’ll want to download WordPress from WordPress.org
Now unzip the WordPress zip file:
Copy the WordPress folder to your local server directory:
XAMPP: C://xampp/htdocs/
MAMP: /Applications/MAMP/htdocs/
WAMP: C://wamp64/www
Rename the WordPress folder to something uninteresting eg mywebsite or whatever
Step 3: Creating Your WordPress Database
WordPress will store the data from your site into a MySQL database. You may use the phpMyAdmin utility to set up a new database
Open up the browser, navigate to http://localhost/phpmyadmin/
Click on Databases and set up one now, eg, wp_local.
Note down the name of the database as you’d need it later while installing WordPress
Step 4: Installation of WordPress
Alright, now that we are all set up let’s get WordPress on your local machine below:
Open a browser window and navigate to http://localhost/mywebsite, substituting “mywebsite” for the name you just assigned to the folder. You should see a page from which you select your language to which you click Continue.
Click Let’s Go! from the page below as it will initiate the process of wordpress installation Database Details Enter in your database details Database Name: wp_local or whatever named your database Username: root Most local databases have a default password as root Just leave it blank If that’s a localhost setup Database Host: localhost Click submit and then run the Installation.
You will be asked to provide information such as the site name, admin username, password, and email. Once this is successfully installed, you’re all set to log into the WordPress login page later on with your details.
Step 5: Installing a WordPress Theme
WordPress has been installed to your local machine; let’s install a theme.
Installing a Free Theme from the WordPress Repository Option 1
Log in to your local WordPress dashboard at http://localhost/mywebsite/wp-admin/.
Left-hand menu: Appearance > Themes
Top button: Add New
Click on one of the themes shown or use the search to look for one. Click Install for the theme you would like to install, then click on Activate once installed so that the theme applies to your site.
Option 2: Install a Theme You Bought or Downloaded
If your theme is a .zip file you’ll instead follow these steps:
Log in to your WordPress dashboard then click Appearance > Themes
Click Add New then Upload Theme
Select File choose to pick the location of your themes .zip file
Click Install Now and then Activate later
Step 6: Customizing Your Theme
After installing this theme you can dive right in with plenty of customizations:
Go to Appearance > Customize.
Here you are allowed to change the name of your website, colors, fonts, widgets, and more; according to your liking based on your choice of theme.
Once you’re satisfied with all the designs you click Publish to save all the modifications done under your customization

Conclusion
How to Install a WordPress Theme to Localhost -Designing and Testing the Site Before Live Installation. Either way, you’d be bound to end up completely in control of your local WordPress website by getting ready to install it on a live server, either whether you want to use either one of the themes from the repository or your favourite custom theme. Local development is fabulous and pretty cool to learn WordPress and, by extension, web development in general since you’re allowed to go through any experiment without ever touching your live site again.
Following the guide above, you now should have a fully functional WordPress site up and running locally with your custom theme ready for development and testing.


